A Lenovo laptop came into our Brisbane workshop showing no signs of life at all: no power LED, no charging light, and no response from the power button no matter which charger was used. That combination pointed straight at the power input stage rather than anything further downstream on the motherboard.
Tracing the fault to the USB-C power path
Testing the USB-C port showed the charger and the laptop weren't completing their power negotiation. The PD (Power Delivery) controller — the chip responsible for talking to the charger and telling it how much voltage to supply — wasn't getting the laptop up to the 20V it needs to run.
Further measurement traced the actual cause: the PD controller generates a boosted control voltage, around 26V, to fully switch on a MOSFET sitting between the charging fuse and the motherboard's main power rail. Without that 26V on the MOSFET's gate, the switch never opens, and the 20V from the charger never makes it past the fuse — even though the charger itself and the initial PD handshake were both fine.
A short with no thermal signature
The first step was replacing the PD controller with a known-good reference chip, in case it simply wasn't generating the 26V rail anymore. That made no difference — the fault was sitting further along the circuit. Closer measurement around the MOSFET found the real problem: its gate pin was shorted dead to ground.
Normally a dead short like that shows up under a thermal camera as a hot spot once power is applied. This one didn't. The short wasn't sitting on an exposed trace or component — it was buried between two of the board's internal copper layers, with no surface path for heat to show through and nothing visible to point a probe at.
Finding the short with a microdrill
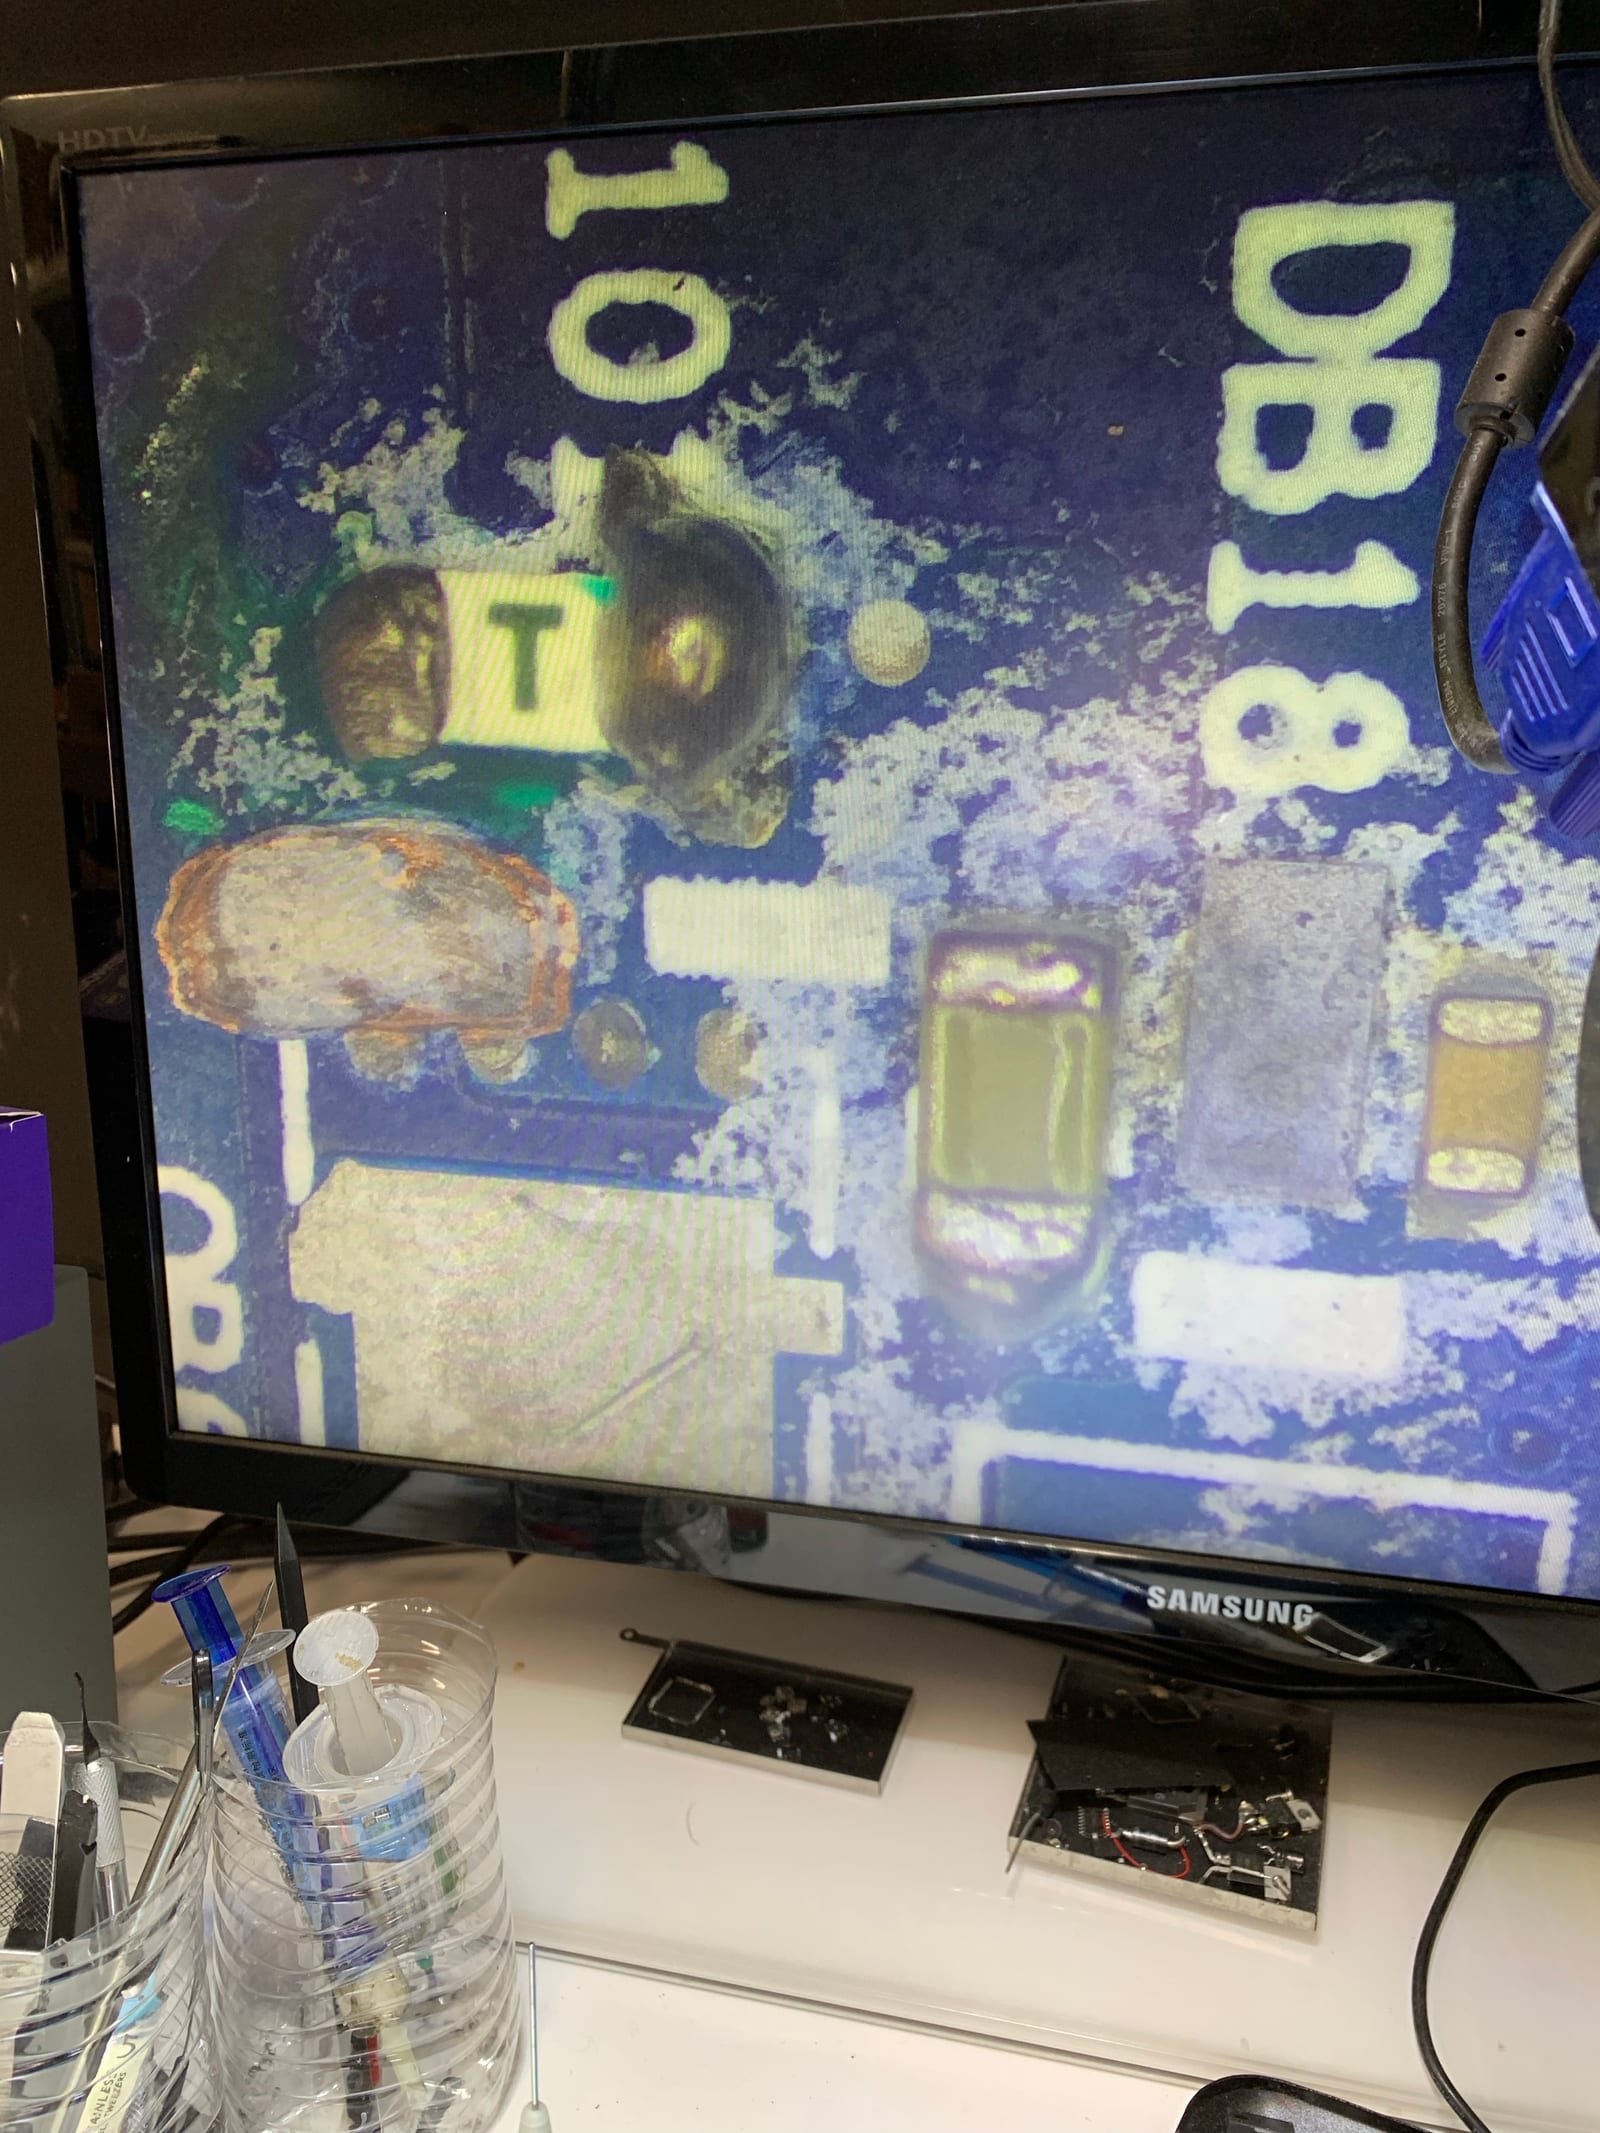
With no thermal signature to follow, the only way to confirm exactly where the short was hiding was to go looking for it physically. Using an extremely fine drill bit, we carefully drilled down through the via at the MOSFET's gate connection, checking the exposed material for carbon staining — the tell-tale scorch mark left behind when a short circuit burns through the fibreglass between copper layers.
The drilling turned up exactly that: a patch of blackened carbon sitting right at the via between the gate connection and the board's second internal ground layer. That confirmed the short was a layer-to-layer fault inside the PCB itself, not a surface-level component failure.
Cutting it out and rebuilding the gate connection
Once the short was pinpointed, the damaged section of the board — via, scorched fibreglass and all — was ground away entirely with a precision grinder. Re-testing afterwards confirmed the gate pin was finally clear of the short.
With that connection gone for good, the only way to restore it was to run a new one by hand: a fine copper jumper wire soldered from the PD controller's gate-drive pin straight to the MOSFET's gate pad, bypassing the destroyed via and layer connection completely. Routing and soldering a wire that precisely, on a pad that small, without disturbing anything else on the board, is slow, exacting work — there's no shortcut for it.
With the jumper wire in place and the MOSFET reflowed back onto the board, the laptop accepted the charger's 20V immediately and powered on normally.
Why this one was genuinely difficult
Most "no power" laptop faults come down to a shorted component, a blown fuse, or a failed IC that a thermal camera or a few multimeter readings will find quickly. This one had no thermal signature, no visible damage, and no component to simply swap out — the fault was physically inside the board itself, and finding it meant drilling into the PCB to check for carbon evidence before any repair could even begin. It's the kind of job that separates a straightforward part swap from genuine board-level diagnosis.
Need help with a repair?
CQ Electronics handles component-level electronics repair, board faults, laptops, consoles, phones, ECU inspection and vehicle electrical work in Brisbane.
Request a quote →